Body
What is Conditional Formatting?
Conditional Formatting in Outlook applies changes to incoming messages based on defined criteria set by the end users. Using this feature, you can change the font, color and styles of incoming messages based off conditions like the sender's name or email address.
Creating a Conditional Formatting Rule
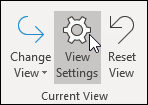
- On the "View" tab, in the "Current View" group, select "View Settings."
IMPORTANT NOTE: In some versions of Outlook, "View Settings" will be under the "Current View" button on the "View" tab.
- In the "Advanced View Settings" prompt, select "Conditional Formatting."
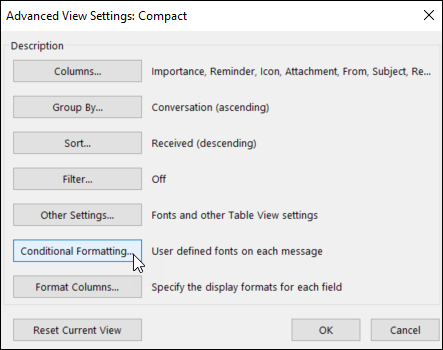
The "Conditional Formatting" prompt will pop-up.

Adding a Rule
You can add a rule by selecting the "Add" button. By default, the Name will be "Untitled." If you wish to change the name, you can. You can also specify a "Font" and "Condition" for your rule.
Deleting vs Disabling a Rule
Deleting a rule will completely remove it, and any trace of it, from your Conditional Formatting rules. You can do this by simply selecting the rule that you no longer want, and then selecting "Delete."
Conversely, Disabling the rule will keep the rule but prevent it from applying any changes to your mail. You can disable a rule by un-checking the box next to a rule.
It is worth noting that you can't "delete" the default rules, but you can "disable" them.
Editing a Rule
You can change the Font and Conditions of a rule by selecting the rule and then selecting the "Font" and "Condition" buttons.
Example
Say you would like to emphasize all messages specific peer so they're easier to notice while skimming through unread mail:
- Select "Add."
- Choose a name for the rule (e.g. "John Doe in Red")
- Select a "Font" (e.g. Font: Cambria, Font Style: Bold, Size: Bigger, Color: Red...)

- You can see a sample text of what it would look like, when you are satisfied, select "OK."
- Select "Condition."

- Once you are satisfied, you can select "OK," and your rule has been created!
You can see some examples of rules being created in the Microsoft Support page, which is the reference for this article, below.
Reference:
Use Conditional Formatting Rules to Change Incoming Messages in Outlook - Microsoft Support